What to Do If Your Outside Drain Is Blocked – HomeService.Insure
Richard Raw
Blocked drains are unpleasant, inconvenient, and potentially costly if ignored. From foul smells to water backing up, outside drains can cause problems quickly — but with the right approach, many blockages can be cleared before they turn into bigger issues.
Here’s a step-by-step guide from HomeService.Insure to understanding outside drain blockages, fixing them safely, and knowing when to call in professional help.
Signs your outside drain is blocked
Watch out for these common red flags:
- Unpleasant odours – a bad smell around drains usually means waste isn’t flowing properly.
- Slow drainage inside – if sinks and showers take ages to empty, the problem could be outside.
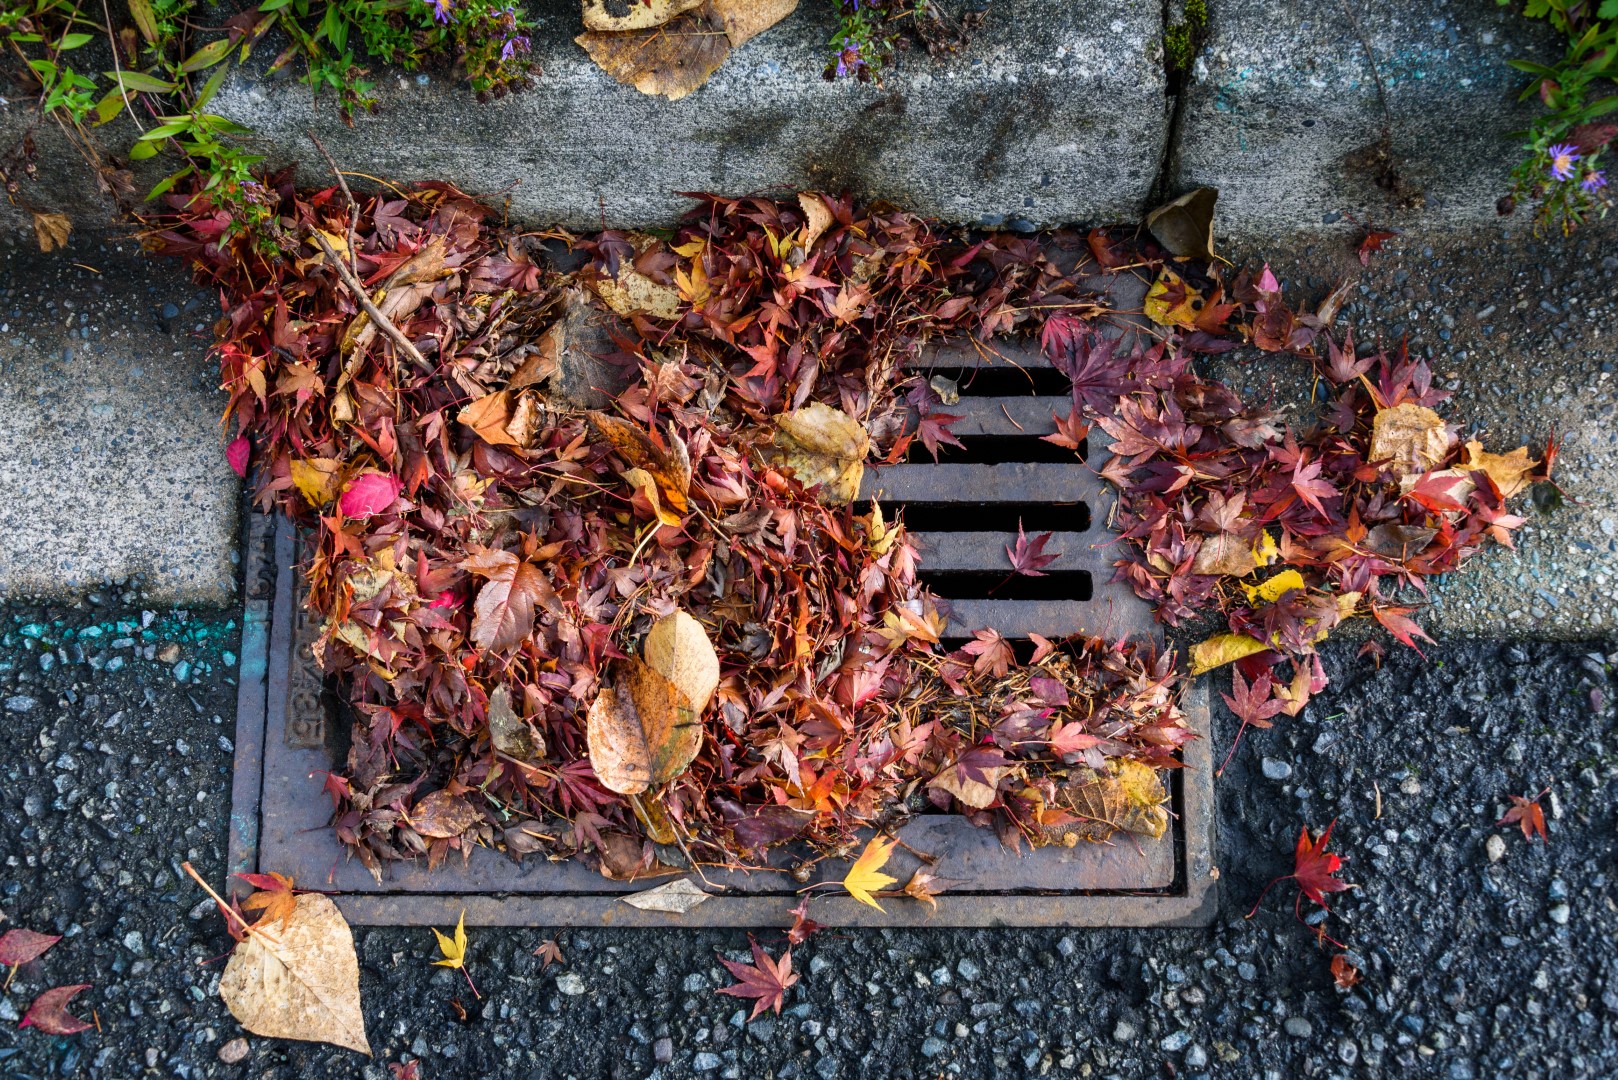
- Overflowing drains – water bubbling up or spilling from outdoor drains is a clear sign of a blockage.
Why outside drains get blocked
Blockages can come from both outdoors and indoors:
Outdoor causes
- Fallen leaves, moss, or branches
- Mud and soil washing into the drain
- Litter or debris
Indoor causes
- Cooking oil, fat, and coffee grounds poured down sinks
- Sanitary items or wipes flushed down toilets
- Hair and soap residue from showers
Who is responsible for outside drains?
Responsibility depends on where the blockage is:
- Your property’s drains (e.g. kitchen gully or private pipework) → Your responsibility.
- Shared drains or public sewers → Usually your local water company.
Tip: If your neighbours have the same problem, it’s likely a shared drain and you should contact your water provider rather than trying DIY fixes.
How to unblock an outside drain yourself
If it’s confirmed to be your responsibility, and the blockage looks manageable, you can try a DIY fix.
What you’ll need:
- Protective gloves and clothing
- Drain rods (long flexible rods for clearing blockages)
- Bucket or bin bags for debris
- Screwdriver or lifting tool for the drain cover
- Hose or pressure washer for cleaning afterwards
Steps:
- Lift the drain cover carefully using tools or rope for leverage.
- Locate the blockage – remove as much as possible by hand (wear gloves and a mask).
- Use drain rods – push and twist clockwise into the blockage until it starts to break up.
- Flush through with water – use a hose or pressure washer to clear away remaining debris.
- Dispose of waste safely – bag up any solids you remove.
Alternative quick fixes for smaller blockages
- Boiling water – pour directly into the drain to dissolve grease and soap.
- Baking soda + vinegar – pour in, let it fizz for 15 minutes, then flush with hot water.
- Drain snake or DIY wire hook – useful for pulling out stubborn blockages in smaller pipes.
When to call a professional
DIY won’t always cut it. Call a plumber or drainage engineer if:
- The blockage keeps returning
- The water level doesn’t budge after rodding/jetting
- The problem seems deeper in the system
Professional drain jetting or rodding typically costs between £70–£150, while a full system clean may cost up to £200.
Preventing future drain blockages
- Fit drain covers to stop leaves and debris going down.
- Never pour fat, oil, or coffee grounds down the sink.
- Throw sanitary items, wipes, and cotton pads in the bin — not the loo.
- Blast outside drains with a hose every so often to keep them clear.
Drain protection with HomeService.Insure
Blocked drains don’t just disrupt your day — they can damage your home if left untreated. With HomeService.Insure, you get cover and quick access to trusted engineers who can clear blockages safely and effectively.
Stay worry-free, protect your drains, and let HomeService.Insure handle the mess when things back up.
HomeService.Insure Safety Disclaimer
At HomeService.Insure, we encourage safe and sensible DIY, but your safety always comes first.
- Only attempt basic checks and fixes if you feel confident.
- Stop immediately if you notice burning smells, scorch marks, leaks, or anything that looks unsafe.
- Never attempt electrical or gas repairs beyond simple resets or checks.
- For complex, repeated, or potentially dangerous problems, always call a qualified Gas Safe engineer (for heating) or a certified electrician (for electrics).
By following this guidance, you reduce risks — but professional help should always be your first choice if there’s any doubt.

Drain Responsibility at a Glance – HomeService.Insure
Richard Raw
Type of Drain |
Who’s Responsible |
Notes |
|---|---|---|
| Internal drains (inside your home) | Homeowner | Includes sinks, toilets, showers, and any pipes within your property. |
| Private external drains (e.g. kitchen gully or pipes serving only your house) | Homeowner | You’re responsible for clearing and maintaining these. |
| Shared drains (pipes outside your property that serve you and your neighbours) | Water company | Contact your local water/sewerage provider if the blockage is in a shared system. |
| Public sewers | Water company | Your provider maintains the main sewer network beyond your property boundary. |
| Roadside drains | Local council | Covers drains on public roads, including country lanes and pavements. |
HomeService.Insure Safety Disclaimer
At HomeService.Insure, we encourage safe and sensible DIY, but your safety always comes first.
- Only attempt basic checks and fixes if you feel confident.
- Stop immediately if you notice burning smells, scorch marks, leaks, or anything that looks unsafe.
- Never attempt electrical or gas repairs beyond simple resets or checks.
- For complex, repeated, or potentially dangerous problems, always call a qualified Gas Safe engineer (for heating) or a certified electrician (for electrics).
By following this guidance, you reduce risks — but professional help should always be your first choice if there’s any doubt.

How to Fix a Tripped Fuse – HomeService.Insure Guide
Richard Raw
Losing power suddenly can be stressful, but in many cases a tripped fuse (or circuit breaker) is quick to fix. Knowing how to reset your fuse box safely — and how to spot the warning signs of something more serious — can save you both time and worry.
Here’s a clear step-by-step guide from HomeService.Insure.
Safety first
- Only attempt basic checks if you feel confident.
- Never touch wires or components inside the fuse box itself.
- Call a qualified electrician immediately if you notice:
- Burning smells
- Scorch marks around switches
- Rust or visible damage
Step-by-step: Resetting a tripped fuse
- Locate your fuse box – usually in a hallway, garage, or utility room.
- Check the switches – one or more will be in the “off” position. Labels should indicate which circuit has tripped.
- Flip the switch back on – push it firmly to the “on” or “green” position.
- Check your power – if everything works, the issue may have been a one-off.
Tip: If none of the switches are down, you may be experiencing a power cut. Check with neighbours or your energy provider.
What if it trips again?
If the fuse keeps tripping, follow these steps:
- Unplug all appliances on the affected circuit.
- Switch the breaker back on.
- Reconnect each appliance one at a time – the faulty one will cause the power to trip again.
- Stop using the faulty item and replace or repair it.
If the fuse continues to trip with no appliances connected, the problem may lie within the circuit itself — and that’s when you need an electrician.
Appliances that commonly trip fuses
- Kettles (overfilled or faulty elements)
- Toasters with crumbs or damage
- Cookers with worn rings
- Immersion heaters
- Faulty plugs, leads, or connections
- Light bulbs blowing suddenly
- Overloaded extension cords
How to avoid future trips
- Don’t overload sockets – spread high-powered devices across different circuits.
- Inspect appliances – stop using anything with frayed wires, cracks, or burn marks.
- Maintain equipment – clean toasters, empty tumble dryer filters, and service larger appliances regularly.
- Use extension leads wisely – avoid daisy-chaining multiple leads together.
When to call in the experts
If your fuse box keeps tripping and you can’t identify the cause, it may point to:
- A faulty fuse box
- Damaged wiring in the home
- A failed safety device (like an RCD or breaker)
These issues should only be handled by a qualified electrician.
Electrical help with HomeService.Insure
Power cuts and tripped fuses are frustrating — but you don’t have to deal with them alone. With HomeService.Insure, you’ll have fast access to trusted electricians who can quickly diagnose the issue and get your home running safely again.
Clear pricing, quick availability, and peace of mind — that’s what you get with HomeService.Insure.
HomeService.Insure Safety Disclaimer
At HomeService.Insure, we encourage safe and sensible DIY, but your safety always comes first.
- Only attempt basic checks and fixes if you feel confident.
- Stop immediately if you notice burning smells, scorch marks, leaks, or anything that looks unsafe.
- Never attempt electrical or gas repairs beyond simple resets or checks.
- For complex, repeated, or potentially dangerous problems, always call a qualified Gas Safe engineer (for heating) or a certified electrician (for electrics).
By following this guidance, you reduce risks — but professional help should always be your first choice if there’s any doubt.
How to Clean Gutters Safely – HomeService.Insure
Richard Raw
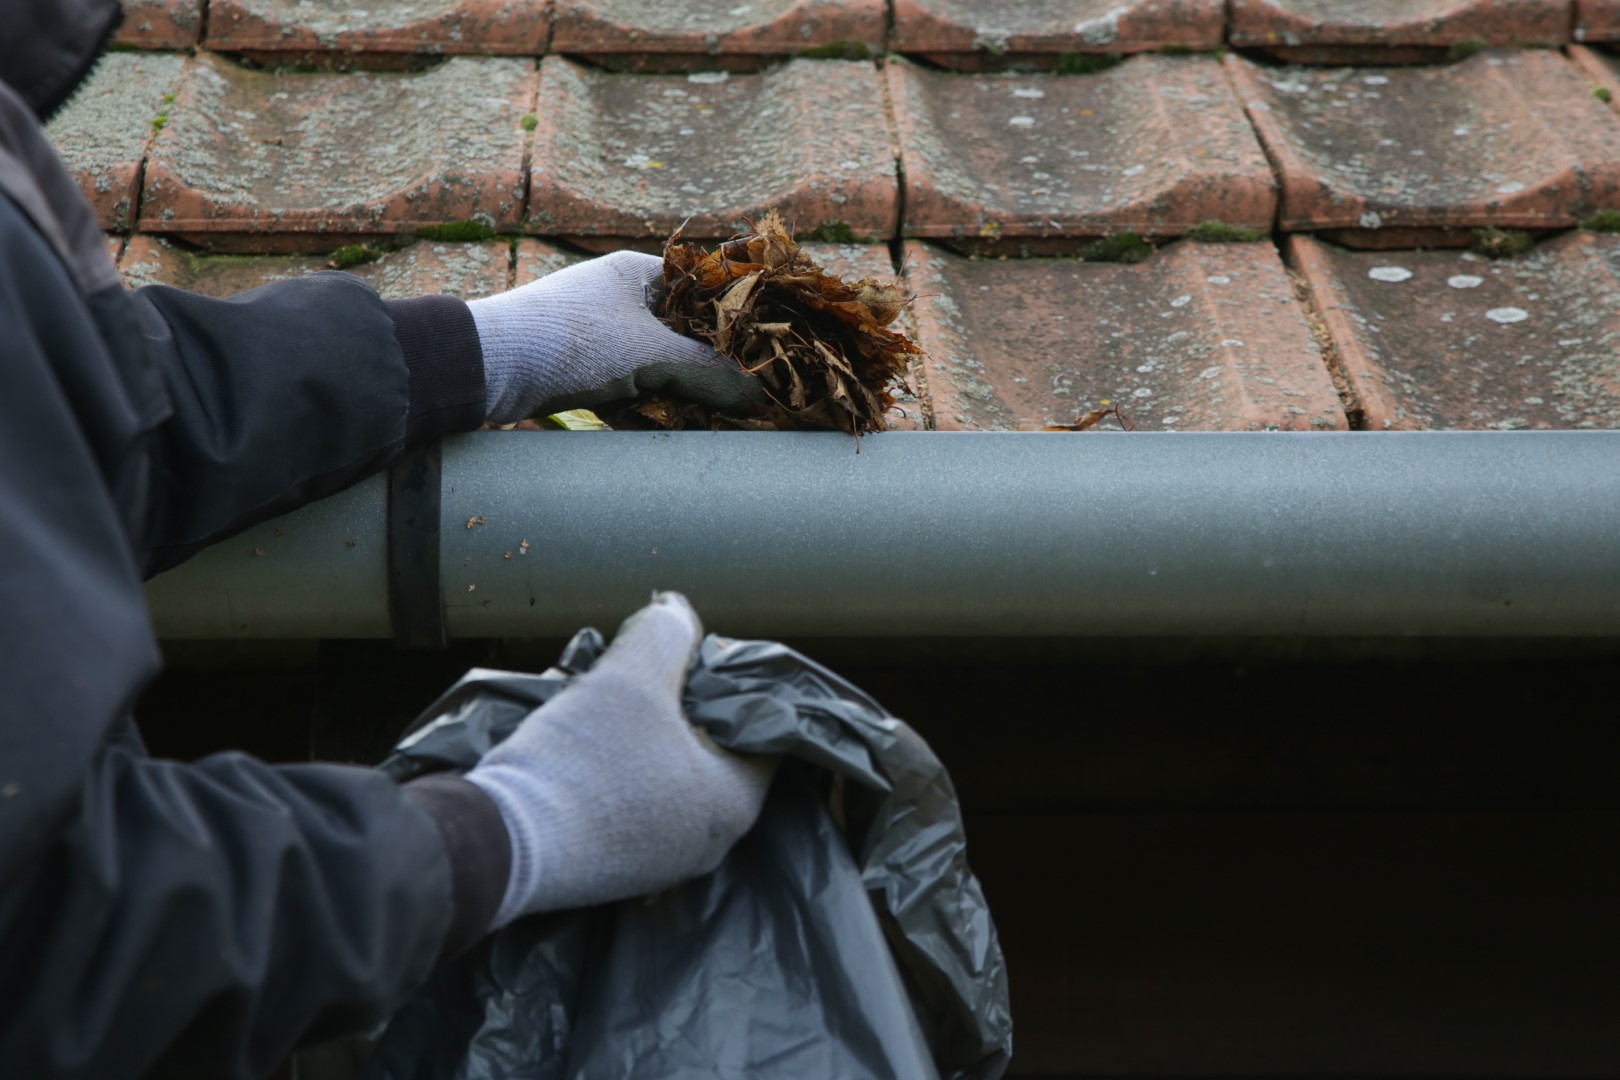
Cleaning your gutters isn’t the most glamorous job, but it’s one of the most important. Blocked gutters can lead to leaks, damp walls, and expensive water damage — especially during the wet and icy winter months.
This guide from HomeService.Insure shows you the safest way to tackle the task, the tools you’ll need, and how often to keep on top of it.
Why gutter cleaning matters
- Prevents water damage – clogged gutters can force water into walls, fascia boards, and foundations.
- Protects your roof – trapped water can freeze, expand, and crack guttering.
- Saves money long-term – regular maintenance costs less than repairing rot, leaks, or damp.
What you’ll need for the job
- Sturdy ladder – always set it on flat, solid ground.
- Ladder stabiliser/stand-off – keeps you steady and prevents damage to walls.
- Gloves & protective clothing – gutters can be messy and sharp-edged.
- Bucket or heavy-duty bags – for collecting debris.
- Gutter scoop or improvised tool – e.g. a cut plastic bottle works well.
- Hose or pressure washer – for flushing out the last bits.
- Extension wand – helps you reach awkward spots safely.
Safety first
- Never overreach from the ladder — climb down and move it along.
- Ask someone to steady the ladder if possible.
- If you’re not confident at height, call in a professional.
Step-by-step: How to clean your gutters
- Position the ladder securely near the section you want to start with.
- Put on gloves and get tools ready before climbing.
- Remove debris using a scoop or by hand, working in small sections.
- Collect waste in a bucket or bag — don’t drop it straight onto the ground.
- Flush with water to check flow and clear fine material.
- Move the ladder along and repeat until the entire gutter run is clear.
How often should you do it?
- At least once or twice a year — spring and late autumn are ideal.
- More often if trees are nearby — falling leaves, seeds, and moss build up quickly.
- After heavy storms — high winds can deposit unexpected debris.
What if you spot other problems?
While cleaning, look out for:
- Cracks in the guttering
- Loose brackets
- Damaged fascia boards
- Signs of water staining on walls
These are best dealt with quickly to avoid bigger repairs later.
FAQs
How do I clean gutters on a tall house?
If you’re not confident on ladders, hire a professional with the right safety equipment.
Can I make my own gutter scoop?
Yes — cut the bottom off a plastic bottle at an angle and use it as a scoop.
How much does professional gutter cleaning cost?
Typically £70–£150 depending on the size of your property and amount of debris.
Gutter protection with HomeService.Insure
Blocked gutters can lead to leaks, damp, and costly repairs. With HomeService.Insure, you’ll have cover and quick access to trusted professionals who can deal with guttering issues safely and effectively.
Protect your home — and your wallet — by staying on top of gutter maintenance with HomeService.Insure.
HomeService.Insure Safety Disclaimer
At HomeService.Insure, we encourage safe and sensible DIY, but your safety always comes first.
- Only attempt basic checks and fixes if you feel confident.
- Stop immediately if you notice burning smells, scorch marks, leaks, or anything that looks unsafe.
- Never attempt electrical or gas repairs beyond simple resets or checks.
- For complex, repeated, or potentially dangerous problems, always call a qualified Gas Safe engineer (for heating) or a certified electrician (for electrics).
By following this guidance, you reduce risks — but professional help should always be your first choice if there’s any doubt.
How to Fix a Leaking Outdoor Tap – HomeService.Insure
Richard Raw
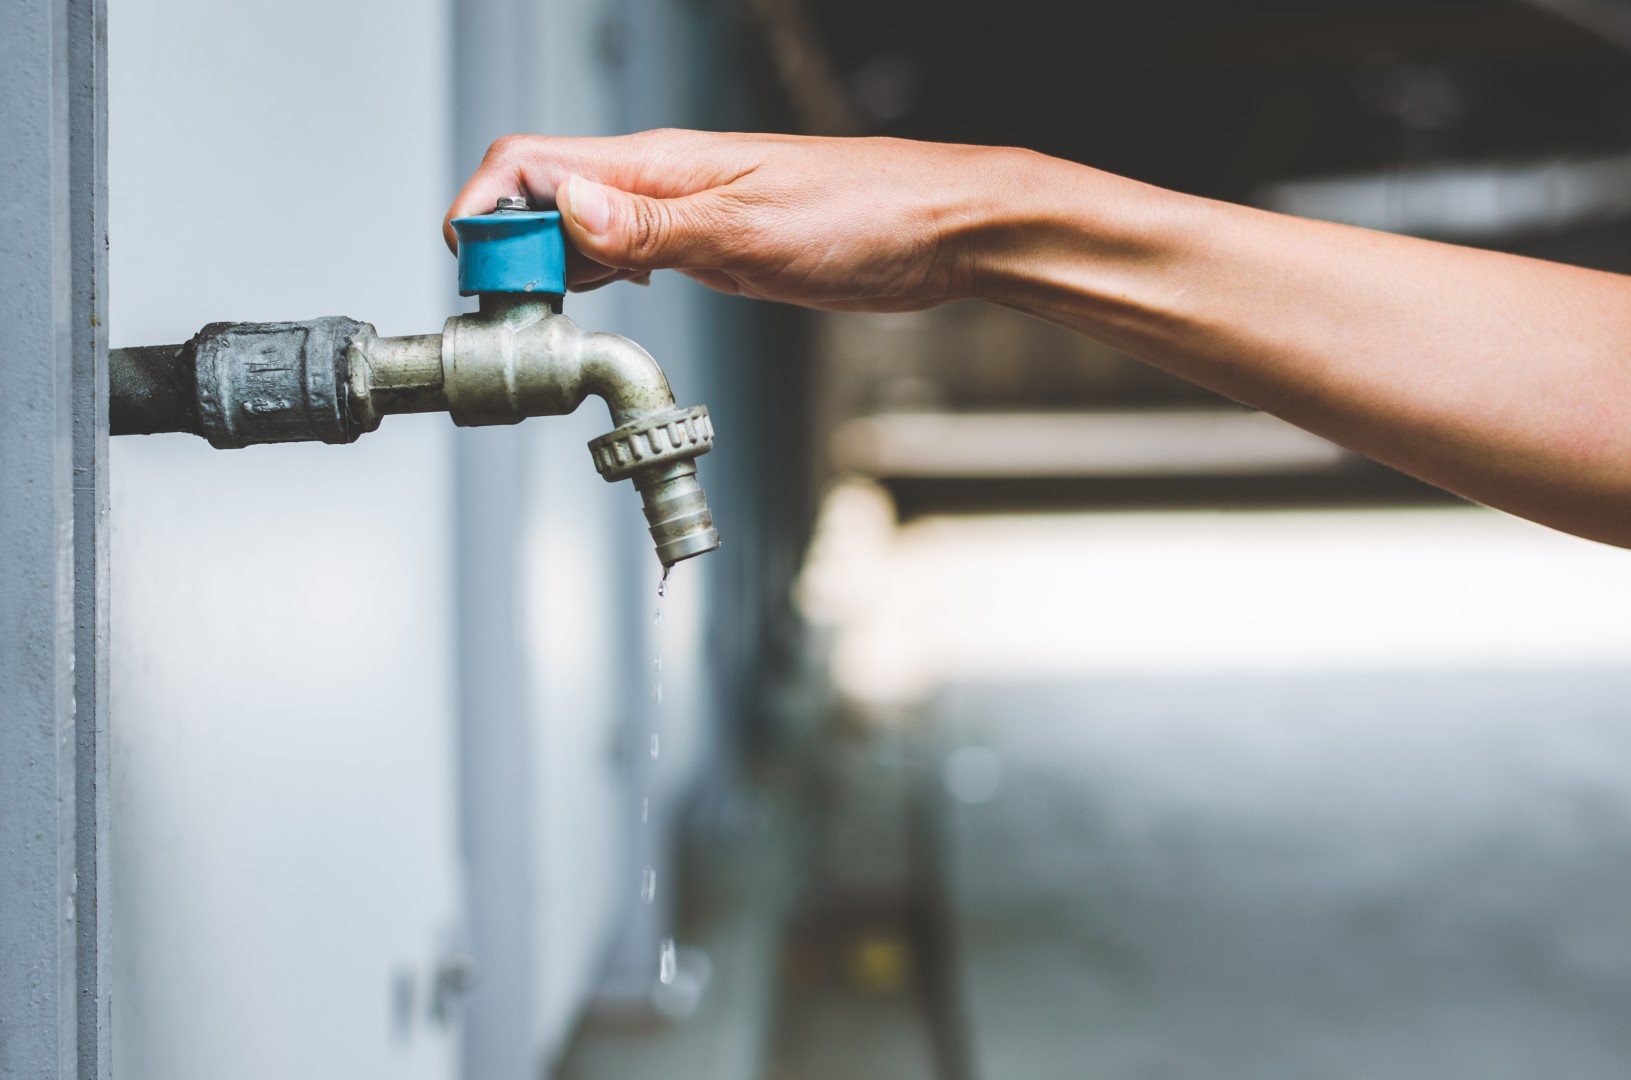
A dripping outside tap isn’t just annoying — it wastes water, increases bills, and can even leave your garden waterlogged. Thankfully, most outdoor tap leaks are simple to fix with a few basic tools.
Here’s a step-by-step guide from HomeService.Insure to help you stop the drip.
Why outdoor taps leak
Most leaks come down to everyday wear and tear:
- Loose packing nut – the nut around the spindle can work loose over time.
- Worn washer – just like indoor taps, the washer inside can degrade, letting water escape.
- Damaged hose connector – if the leak is at the hose end, the O-ring may need replacing.
What you’ll need
- Adjustable spanner
- Flat-head screwdriver
- New washer (or assorted pack)
- PTFE (plumber’s) tape
- Old toothbrush
- Bucket or cloths for water spills
- Replacement O-ring (if hose connection is leaking)
Step-by-step: Fixing a leaking tap
- Turn off the water
Find your mains stopcock (usually under the kitchen sink) and shut off the supply. Open the outside tap to drain any remaining water.
- Identify the leak location
- Around the handle/spindle → Likely a loose packing nut.
- From the spout → Usually a worn washer.
- At the hose connector → Often a damaged O-ring.
- If it’s the spindle/handle
- Tighten the packing nut with a spanner.
- If it still leaks, remove the nut, wrap PTFE tape around the thread, and retighten.
- If it’s the spout
- Unscrew the larger nut (valve head) below the handle.
- Remove the valve and take out the old washer with a screwdriver.
- Clean the washer seat with a toothbrush.
- Fit the new washer, apply PTFE tape to the threads, and reassemble.
- Restore the water supply
Turn the stopcock back on and test the tap. If the leak has stopped — job done!
If the tap is still leaking
Sometimes the valve seat inside the tap body is worn. This can be re-ground flat with a reseating tool, but in many cases it’s easier and cost-effective to simply replace the whole tap.
Fixing a leaking hose connection
- Remove the old O-ring with a small screwdriver.
- Replace with a new O-ring of the same size (slightly thicker ones can work too).
- Push it firmly into place and reconnect the hose.
FAQs
Are outside taps different to indoor taps?
Not much — but most modern outdoor taps include a check valve to stop dirty water flowing back inside.
Is replacing a washer really that easy?
Yes. Turn off the mains, remove the valve, swap the washer, and reassemble.
Why does my hose keep leaking at the joint?
The O-ring in the coupler is worn. Replace it and the leak should stop.
Outdoor plumbing help with HomeService.Insure
If you’ve tried the basics and the tap still drips, don’t stress. With HomeService.Insure, you’ll have fast access to qualified plumbers who can repair or replace faulty taps quickly and safely.
Stay leak-free and keep your home protected with HomeService.Insure.
HomeService.Insure Safety Disclaimer
At HomeService.Insure, we encourage safe and sensible DIY, but your safety always comes first.
- Only attempt basic checks and fixes if you feel confident.
- Stop immediately if you notice burning smells, scorch marks, leaks, or anything that looks unsafe.
- Never attempt electrical or gas repairs beyond simple resets or checks.
- For complex, repeated, or potentially dangerous problems, always call a qualified Gas Safe engineer (for heating) or a certified electrician (for electrics).
By following this guidance, you reduce risks — but professional help should always be your first choice if there’s any doubt.
Winter-Proofing Checklist – HomeService.Insure
Richard Raw
Task |
What to Do |
Tick When Done |
|---|---|---|
| Roof inspection | Check for loose, cracked, or missing tiles. For flat roofs, look for blistering or cracks. Arrange a professional inspection if needed. | ☐ |
| Gutters & downpipes | Clear out leaves and debris after autumn and again mid-winter. Check ground-level drains. Hire a professional for high guttering. | ☐ |
| Trip hazards | Walk around driveways, paths, patios, and decking. Repair loose slabs, clear leaves, and apply non-slip treatments where needed. | ☐ |
| Boiler service | Book your annual boiler service before winter. Use a Gas Safe registered engineer. Fix any issues before the cold sets in. | ☐ |
| Pipe insulation | Insulate exposed pipes in lofts, garages, or external walls. Check hot water tanks and lagging. Call a plumber if unsure. | ☐ |
HomeService.Insure Safety Disclaimer
At HomeService.Insure, we encourage safe and sensible DIY, but your safety always comes first.
- Only attempt basic checks and fixes if you feel confident.
- Stop immediately if you notice burning smells, scorch marks, leaks, or anything that looks unsafe.
- Never attempt electrical or gas repairs beyond simple resets or checks.
- For complex, repeated, or potentially dangerous problems, always call a qualified Gas Safe engineer (for heating) or a certified electrician (for electrics).
By following this guidance, you reduce risks — but professional help should always be your first choice if there’s any doubt.
5 Essential Steps to Get Your Home Winter-Ready – HomeService.Insure
Richard Raw
Winter can be tough on homes. Cold snaps, heavy rain, and icy conditions all put pressure on roofs, pipes, and heating systems. Preparing early not only helps you avoid expensive repairs but can also save money on energy bills.
Here are five practical ways to protect your property this winter.
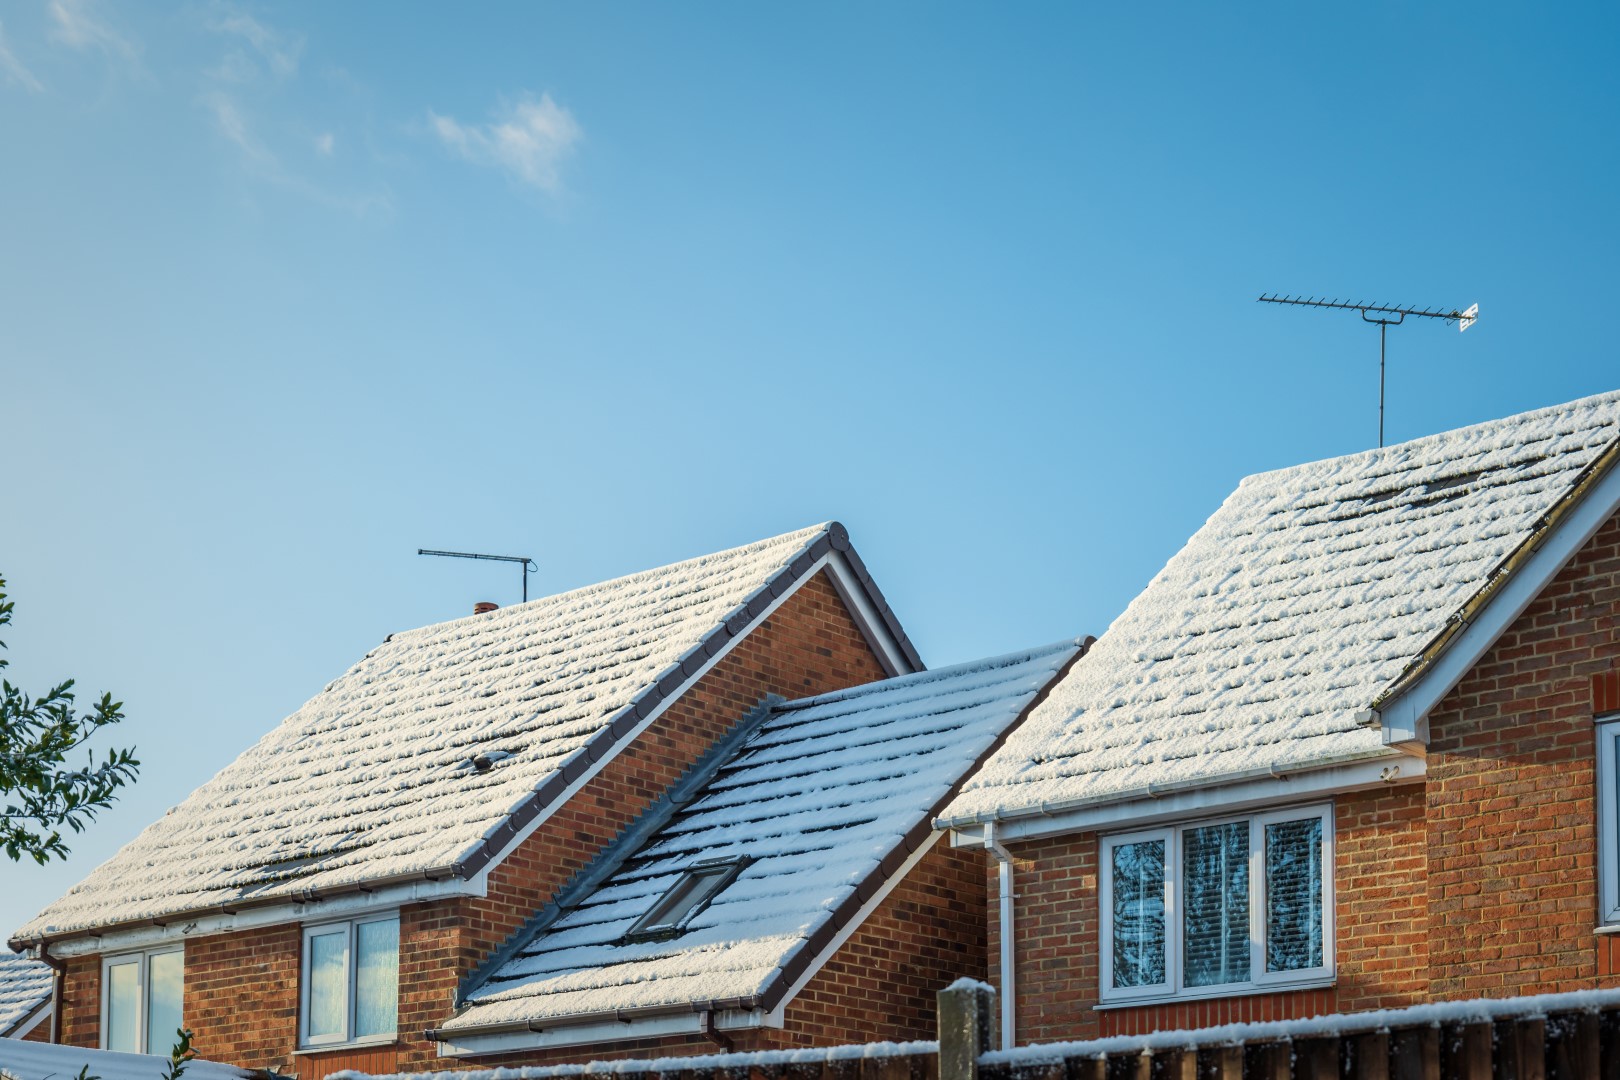
- Check your roof before the storms hit
Even a single loose tile can let water in during heavy rain or when snow melts. Flat roofs can also blister, crack, or lose their protective surface over time.
What to do:
- Arrange a professional roof inspection before winter sets in
- Ask for an independent warranty on any repair work
- Don’t delay — many insurers won’t cover storm damage if your roof was already in poor condition
- Keep gutters and downpipes clear
Blocked gutters are one of the most common causes of leaks and damp during winter. Leaves, moss, and debris can quickly clog up the system, forcing water into walls, fascia boards, and brickwork.
What to do:
- Clear gutters at least twice: once after autumn leaves fall, and again mid-winter
- Check ground-level drains and gullies regularly
- Hire a professional for high or awkward guttering — it’s safer and more thorough
- Remove outdoor trip hazards
Slippery decking, uneven paving, or loose slabs can become dangerous when hidden under frost, snow, or wet leaves.
What to do:
- Walk around your garden, driveway, and paths to spot risks
- Fix loose paving stones and treat decking with non-slip coating
- Keep outdoor spaces clear of leaves and debris to reduce slipping hazards
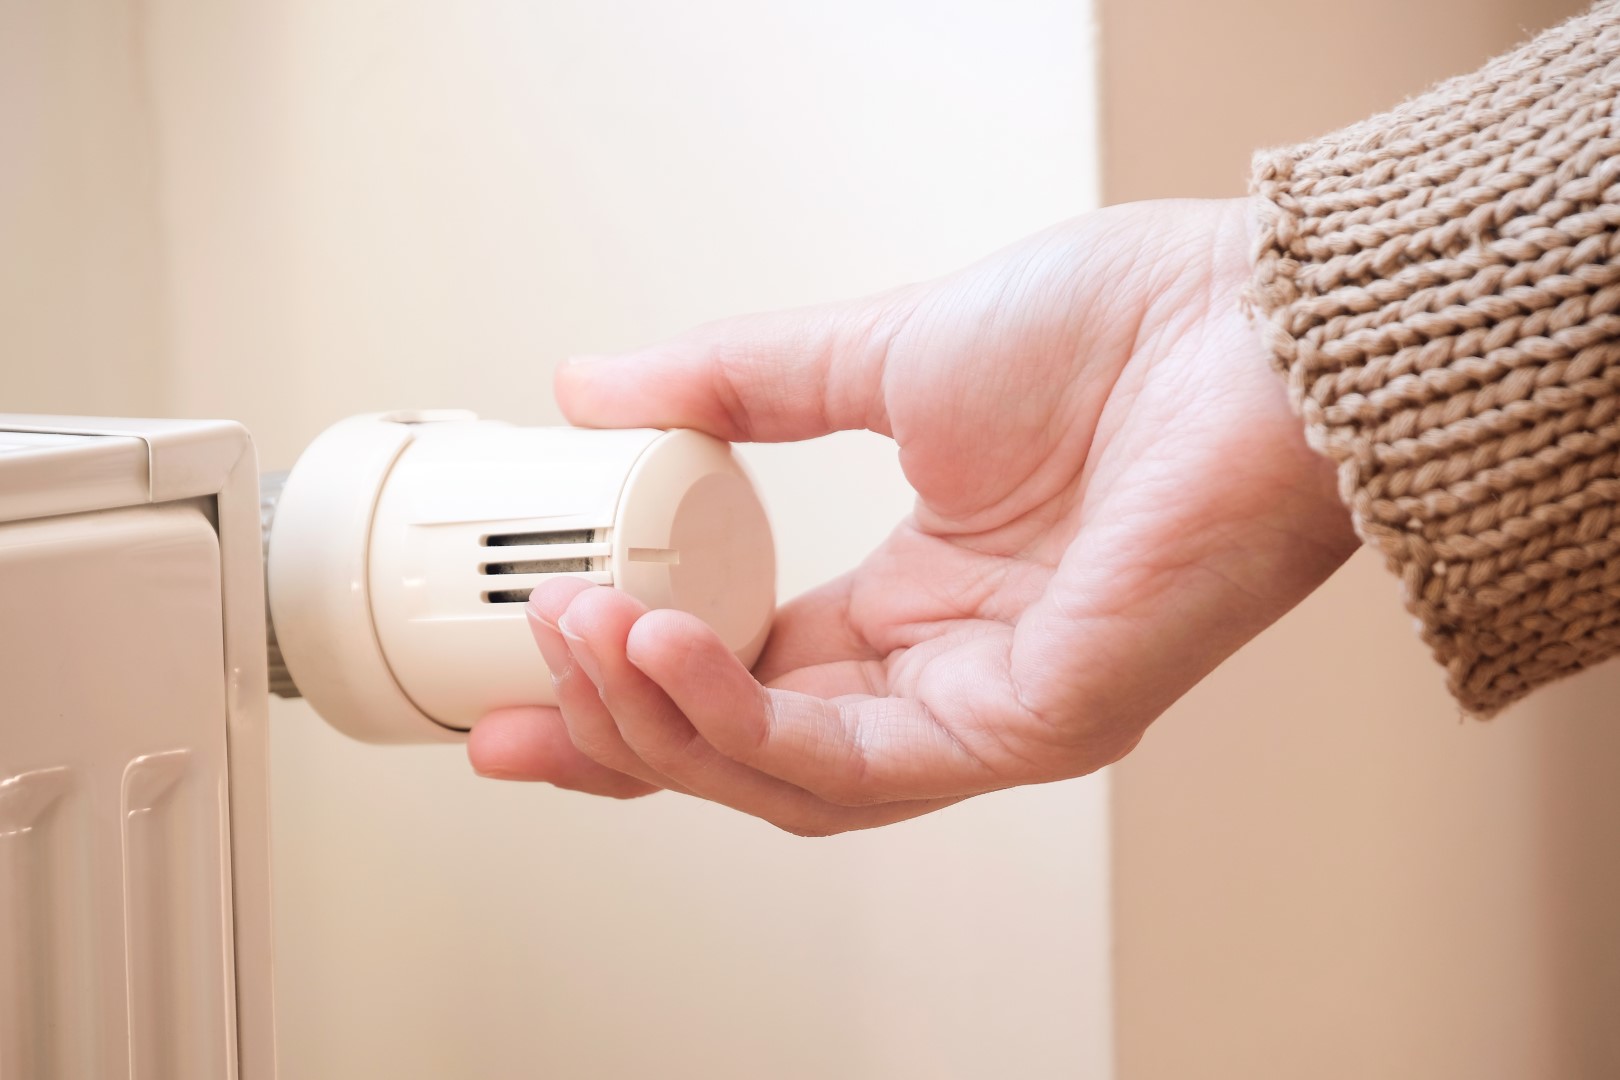
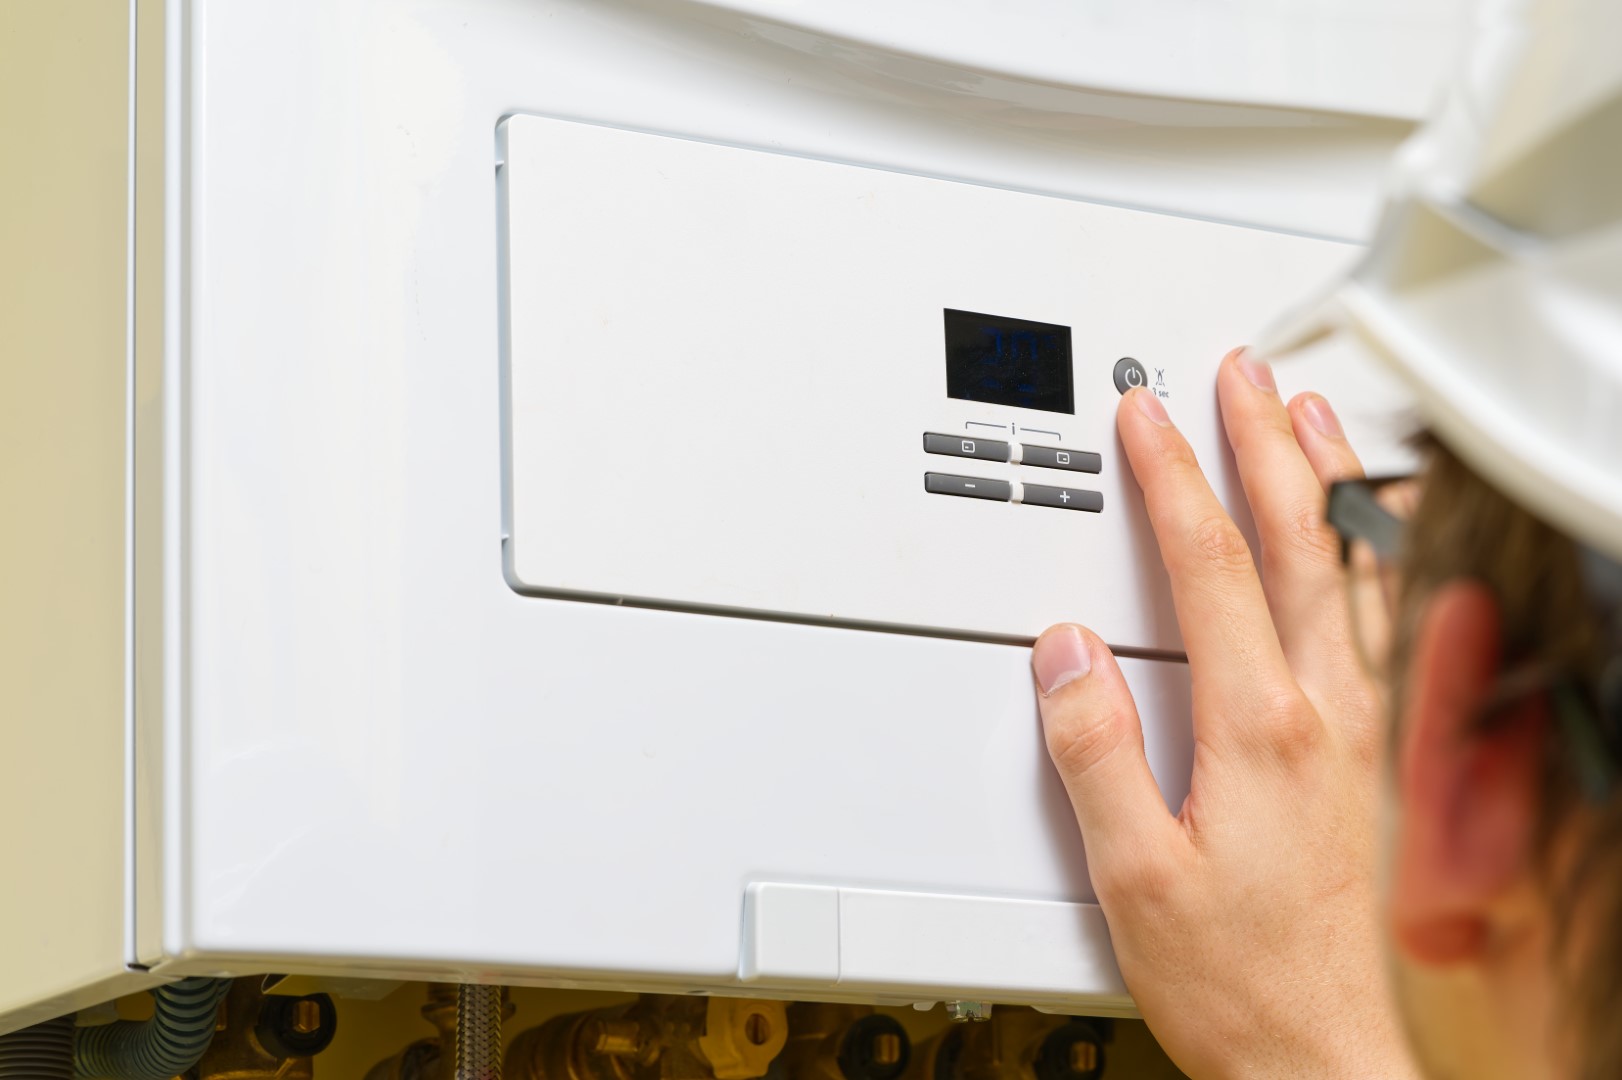
- Service your heating system early
Boilers that have been idle all summer can struggle once the cold sets in. Small faults can quickly turn into breakdowns when the heating is switched on full-time.
What to do:
- Book your annual boiler service in early autumn
- Make sure it’s carried out by a Gas Safe registered engineer
- Fix any issues before the weather turns severe
- Insulate exposed water pipes
Frozen pipes can burst and cause major flooding. Insulation is one of the cheapest and most effective ways to prevent it.
What to do:
- Check pipes in unheated areas like lofts, garages, and outdoor walls
- Add insulation sleeves or lagging to vulnerable pipework
- Don’t forget your hot water tank — make sure both the tank and pipes are insulated properly
- If unsure, ask a qualified plumber for advice
Winter-proofing with HomeService.Insure
A little preparation now can prevent major headaches later. At HomeService.Insure, we help homeowners stay protected with cover and support for heating, plumbing, and emergencies.
With quick access to trusted engineers and clear, reliable protection, you can enjoy the colder months knowing your home is ready for whatever winter throws at it.
HomeService.Insure Safety Disclaimer
At HomeService.Insure, we encourage safe and sensible DIY, but your safety always comes first.
- Only attempt basic checks and fixes if you feel confident.
- Stop immediately if you notice burning smells, scorch marks, leaks, or anything that looks unsafe.
- Never attempt electrical or gas repairs beyond simple resets or checks.
- For complex, repeated, or potentially dangerous problems, always call a qualified Gas Safe engineer (for heating) or a certified electrician (for electrics).
By following this guidance, you reduce risks — but professional help should always be your first choice if there’s any doubt.

Boiler Pressure Too High? Here’s What to Do – HomeService.Insure
Richard Raw
Boiler pressure can rise and fall as water heats and cools, but if the gauge is regularly creeping into the danger zone, it’s a problem you shouldn’t ignore. High pressure can cause leaks, damage to seals, or even force the system to shut down for safety reasons.
This guide from HomeService.Insure explains why boiler pressure climbs too high, how you can safely reduce it, and when to call in an expert.
Understanding normal boiler pressure
- Cold system (no heating or hot water running): around 1 bar
- Heating on: between 1.5 and 2 bars
- 2.5 bars or higher: pressure is too high
Many boilers highlight the safe zone in green on the gauge. If the needle sits outside this range, it’s time to act.
Signs your boiler pressure is too high
- Strange noises – banging, gurgling, or whistling
- Boiler shutting down – many modern boilers power off automatically when pressure climbs
- Leaking water – excess pressure can push water out of seals or the relief valve
Why pressure gets too high
- Overfilling – adding too much water during a top-up
- Faulty filling loop or valves – stuck or damaged, letting water in continuously
- Expansion vessel problems – if it loses charge, it can’t absorb pressure changes
- Leaks elsewhere – causing the system to overcompensate
- Faulty gauge – sometimes the reading itself is inaccurate
How to lower boiler pressure
- Bleed the radiators
Release trapped air and a little water to bring pressure down. Use a radiator key, catch any drips, and keep an eye on the gauge until it returns to the safe zone.
- Drain from a valve
Turn the boiler off, find the drain-off or filter valve, and carefully let out some water into a bucket. Stop once the gauge reads between 1–1.5 bars (when cold).
- Call an expert
If pressure won’t stay down or the same problem keeps returning, it’s time to call a Gas Safe registered engineer. Faulty valves, gauges, or expansion vessels need professional repair or replacement.
Staying safe with high boiler pressure
High pressure usually isn’t dangerous if the pressure relief valve works correctly, but it can still lead to water leaks and long-term damage. Don’t ignore it — tackle the issue quickly to protect your system.
What if your boiler pressure is too low?
Low pressure (below 1 bar) is the opposite problem and usually means there’s a leak or your system needs topping up. This can leave you with no heating or hot water and puts extra strain on your boiler.
Reliable repairs with HomeService.Insure
If you’ve tried the basics and your boiler pressure is still out of control, don’t risk further damage. With HomeService.Insure, you’ll have quick access to trusted Gas Safe engineers who can diagnose the fault, carry out safe repairs, and get your heating back to normal.
No stress, no delays — just expert help when you need it most.
HomeService.Insure Safety Disclaimer
At HomeService.Insure, we encourage safe and sensible DIY, but your safety always comes first.
- Only attempt basic checks and fixes if you feel confident.
- Stop immediately if you notice burning smells, scorch marks, leaks, or anything that looks unsafe.
- Never attempt electrical or gas repairs beyond simple resets or checks.
- For complex, repeated, or potentially dangerous problems, always call a qualified Gas Safe engineer (for heating) or a certified electrician (for electrics).
By following this guidance, you reduce risks — but professional help should always be your first choice if there’s any doubt.
Boiler Cover Explained: Do You Really Need It? – HomeService.Insure
Richard Raw
When your boiler fails, it’s never at a good time — and repair costs can hit hard, especially in winter. Boiler cover is often sold as the answer, but is it really worth paying for month after month?
At HomeService.Insure, we’ve broken it down into plain English so you can decide if boiler cover is the right choice for your home.
Why people consider boiler cover
Think of boiler cover as a safety net. For a monthly fee, it can:
- Pay for repairs if your boiler stops working
- Send out a qualified engineer quickly
- Contribute towards a new boiler if yours can’t be repaired
For many households, it’s about peace of mind — knowing you won’t face a sudden, unexpected bill.
Will your home insurance protect you instead?
Home insurance might cover damage caused by a faulty boiler (like water leaking onto your floor), but it usually doesn’t cover the boiler itself if it breaks due to age, wear, or lack of servicing.
Some insurers let you bolt on boiler protection to your home policy, but it often comes with restrictions around the age and condition of the boiler.
What boiler cover normally includes
Policies can differ, but most fall into two categories:
Boiler-only cover
- Covers repairs to the boiler itself and its controls
- May include an annual service
- Sometimes contributes towards a replacement if it’s beyond repair
Boiler + heating system cover
- Everything in boiler-only cover
- Pipes, pumps, and radiators also included
- Cover for leaks inside your heating system
What’s usually not covered
Even the best policies have exclusions. Common ones include:
- Gas supply pipes before the meter (the supplier’s responsibility)
- Replacement of very old boilers (typically 7+ years)
- General plumbing or drainage problems
- Installation costs if you need a brand-new boiler
The cost of boiler cover vs repair bills
Boiler cover typically costs between £4 and £20 per month. That might sound small, but over a year it adds up.
Compare that with:
- £80–£100 for a one-off engineer callout
- £150–£600 for a repair (parts and labour)
- £2,000+ for a full replacement
If your boiler is older or unreliable, cover can pay for itself quickly. If it’s new and still under warranty, cover may not be worth it.
Is boiler cover right for you?
Boiler cover can be a smart choice if:
- Your boiler is out of warranty
- You don’t want to risk large repair bills
- You prefer a small monthly payment for peace of mind
But if your boiler is modern, serviced annually, and still covered by the manufacturer, you might be better off saving the monthly premiums yourself.
Tips before signing up
- Check for exclusions – pre-existing faults are rarely covered
- Look at claim limits – unlimited callouts are best
- Check boiler age rules – some providers won’t cover older models
Boiler protection with HomeService.Insure
At HomeService.Insure, we keep things simple:
- Clear pricing, no hidden fees
- Unlimited engineer callouts when you need them
- Cover options to suit both boiler-only and full central heating systems
- Support if your boiler is beyond repair
Instead of worrying about surprise breakdowns, let HomeService.Insure give you reliable cover and year-round peace of mind.
HomeService.Insure Safety Disclaimer
At HomeService.Insure, we encourage safe and sensible DIY, but your safety always comes first.
- Only attempt basic checks and fixes if you feel confident.
- Stop immediately if you notice burning smells, scorch marks, leaks, or anything that looks unsafe.
- Never attempt electrical or gas repairs beyond simple resets or checks.
- For complex, repeated, or potentially dangerous problems, always call a qualified Gas Safe engineer (for heating) or a certified electrician (for electrics).
By following this guidance, you reduce risks — but professional help should always be your first choice if there’s any doubt.

Bathroom Sink Not Draining? Here’s What to Do – HomeService.Insure Guide
Richard Raw
A slow or blocked bathroom sink is one of those everyday annoyances that can quickly become a real headache. Whether it’s standing water or a drain that takes forever to clear, the good news is that most blockages are simple to fix once you know what you’re dealing with.
This guide from HomeService.Insure walks you through the likely causes, the best DIY fixes, and when to call in professional help.
Quick guide contents
- Why bathroom sinks get blocked
- Five effective ways to clear a sink
- Why harsh chemicals aren’t the answer
- Dealing with standing water
- Preventing future clogs
- When it’s time to call a plumber
- How HomeService.Insure can help
Why bathroom sinks get blocked
Bathroom sinks face daily use, and clogs can build up faster than you think. Common culprits include:
- Hair – the number one offender, tangling with other debris.
- Soap residue – leaves sticky deposits that trap particles.
- Toothpaste – hardens inside pipes and slows flow.
- Beauty products – oils, clays, and scrubs can solidify.
- Foreign objects – floss, hair ties, or jewellery can slip in.
- P-trap build-up – the curved pipe under your sink collects gunk.
- External drains – sometimes the blockage is further down the line.
Five effective ways to clear a sink
- Use a plunger
A flat-bottomed plunger creates suction to dislodge clogs. Seal the overflow with a wet cloth, fill the sink halfway with hot water, and pump firmly for 20–30 seconds.
- Boiling water
Pour a kettle of boiling water slowly into the drain to melt soap and grease deposits. Repeat a few times for stubborn build-up.
- Baking soda and vinegar
Pour ½ cup of baking soda followed by 1 cup of vinegar into the drain. Cover, let it fizz for 15 minutes, then flush with hot water.
- Clean the P-trap
Place a bucket beneath, unscrew the P-trap, and clear out trapped sludge. Reconnect, test with hot water, and check for leaks.
- Drain snake or DIY hook
Use a drain snake (or a straightened coat hanger) to pull out deeper clogs. Insert gently, twist to dislodge debris, and flush with hot water.
Why harsh chemicals aren’t the answer
Commercial drain cleaners may seem like a quick fix, but they can:
- Corrode older pipes
- Harm the environment
- Leave behind strong fumes
Safer alternatives like baking soda and vinegar are just as effective for routine maintenance — and better for your home and health.
Dealing with standing water
If your sink is full and won’t drain:
- Remove the plug and pull out hair or scum manually.
- Use a baking soda and vinegar solution, followed by hot water.
- Try plunging to force the blockage through.
Often, a combination of methods works best.
Preventing future clogs
- Use a drain cover to catch hair and empty it daily.
- Rinse thoroughly after using toothpaste or shaving cream.
- Dispose properly of wipes, cotton pads, and old cosmetics — never down the sink.
- Flush with hot water after each use to keep pipes clear.
- Drop in baking soda weekly to freshen drains, especially before going away.
When it’s time to call a plumber
DIY methods won’t fix every problem. Call in the pros if:
- Clogs return repeatedly
- Pipes are too tricky to dismantle
- You suspect a deeper blockage in the system
Sometimes, professional tools and expertise are the only way to get things flowing again without causing damage.
How HomeService.Insure can help
At HomeService.Insure, we know how disruptive plumbing issues can be. That’s why we provide cover and access to trusted engineers when you need them most.
With us, you’ll get:
- Fast help when drains or sinks stop working
- Qualified plumbing support you can rely on
- Peace of mind knowing your home is protected
Don’t let a blocked sink ruin your day — let HomeService.Insure keep your home running smoothly.
HomeService.Insure Safety Disclaimer
At HomeService.Insure, we encourage safe and sensible DIY, but your safety always comes first.
- Only attempt basic checks and fixes if you feel confident.
- Stop immediately if you notice burning smells, scorch marks, leaks, or anything that looks unsafe.
- Never attempt electrical or gas repairs beyond simple resets or checks.
- For complex, repeated, or potentially dangerous problems, always call a qualified Gas Safe engineer (for heating) or a certified electrician (for electrics).
By following this guidance, you reduce risks — but professional help should always be your first choice if there’s any doubt.