DIY vs Professional Fixes – Leaking Outside Tap
Situation |
DIY Repair Possible? |
When to Call a Professional |
|---|---|---|
| Loose packing nut (drip around handle) | Yes – tighten with a spanner or apply PTFE tape | If it still leaks after tightening and resealing |
| Worn washer (drip from spout) | Yes – replace washer with a basic toolkit | If washer replacement doesn’t solve it, valve seat may be damaged |
| Leaking hose connector | Yes – replace the O-ring | If leak continues after O-ring replacement |
| Corroded or seized tap | Possible, but difficult | Professional replacement recommended |
| Valve seat worn inside tap | Not practical for DIY | Plumber can reseat or fit a new tap |
| Unsure of water supply isolation | Don’t risk flooding | Call a plumber to safely isolate and repair |
HomeService.Insure Safety Disclaimer
At HomeService.Insure, we encourage safe and sensible DIY, but your safety always comes first.
- Only attempt basic checks and fixes if you feel confident.
- Stop immediately if you notice burning smells, scorch marks, leaks, or anything that looks unsafe.
- Never attempt electrical or gas repairs beyond simple resets or checks.
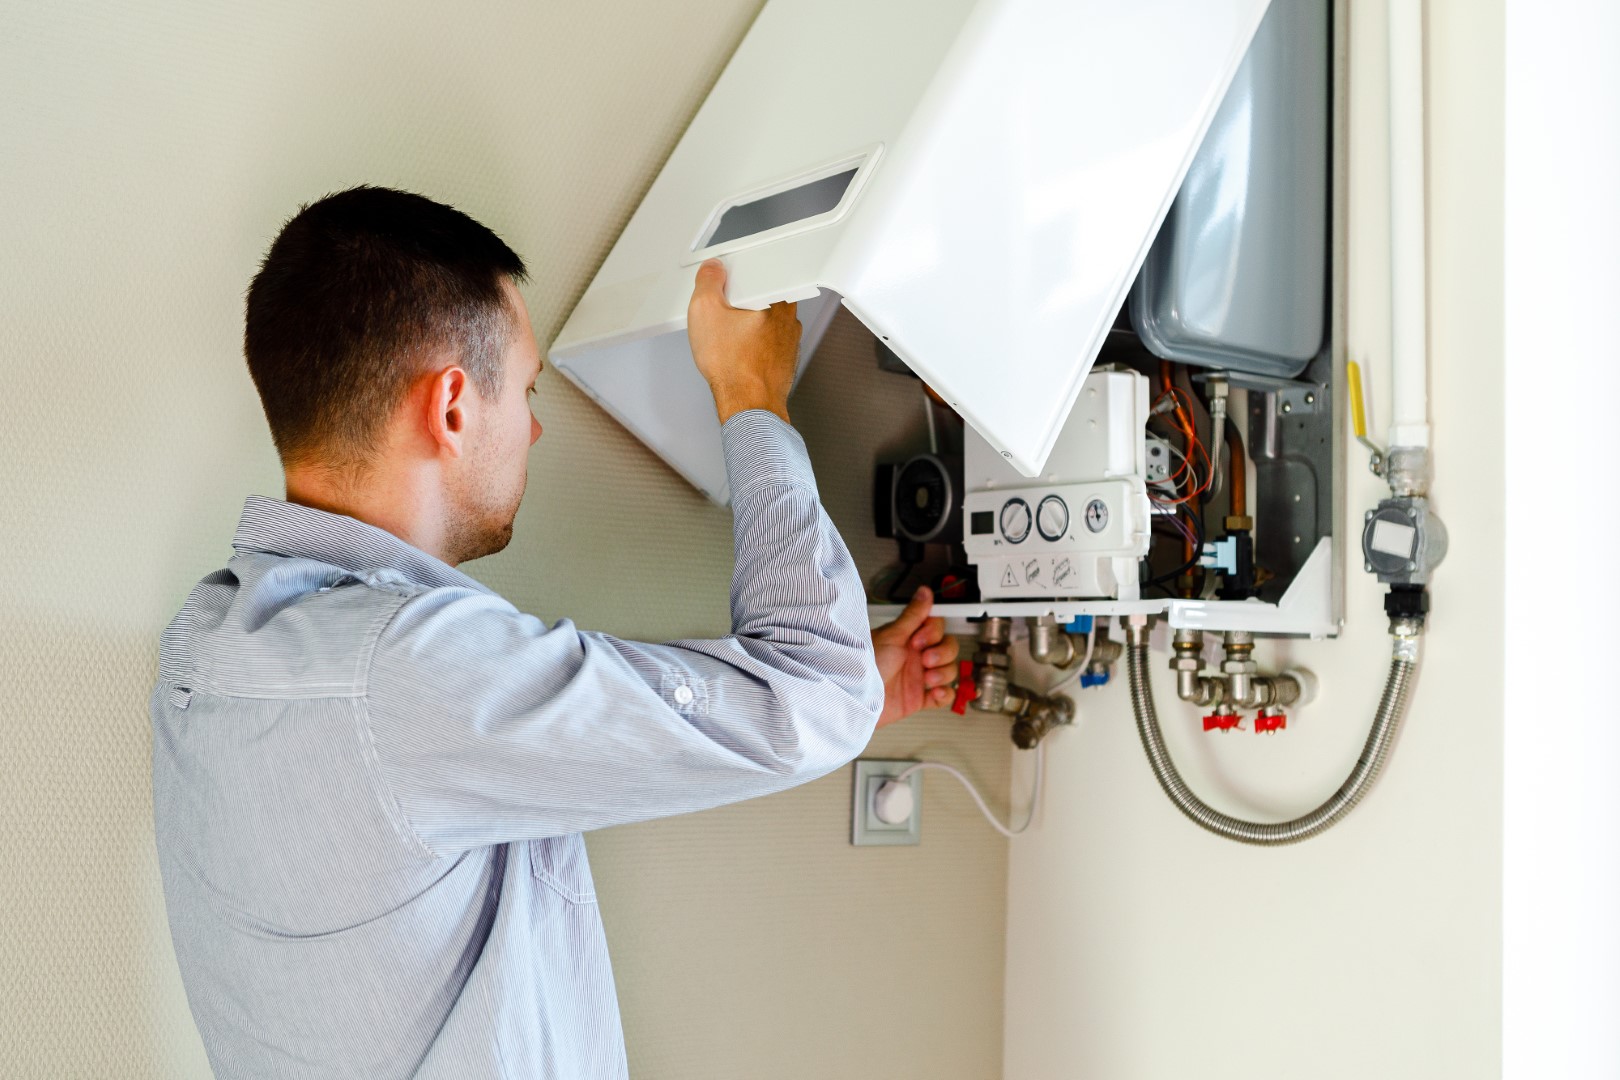
- For complex, repeated, or potentially dangerous problems, always call a qualified Gas Safe engineer (for heating) or a certified electrician (for electrics).
By following this guidance, you reduce risks — but professional help should always be your first choice if there’s any doubt.